International Ballet Summer Workshop Estonia
Eng
Course
Programme 2024
Young Dancer Intensive
Gala programme
Our teachers 2024
Course price
Scholarship
Application form
Gallery 2021 young participants
Gallery 2021
Gallery 2019
Gallery 2018
Gallery 2017
Gallery 2023
In addition
Welcome to Estonia
Meet Tallinn
About the Theatre
Accomodation & catering
Vaganova method and Balanchine style
News
Testimonials
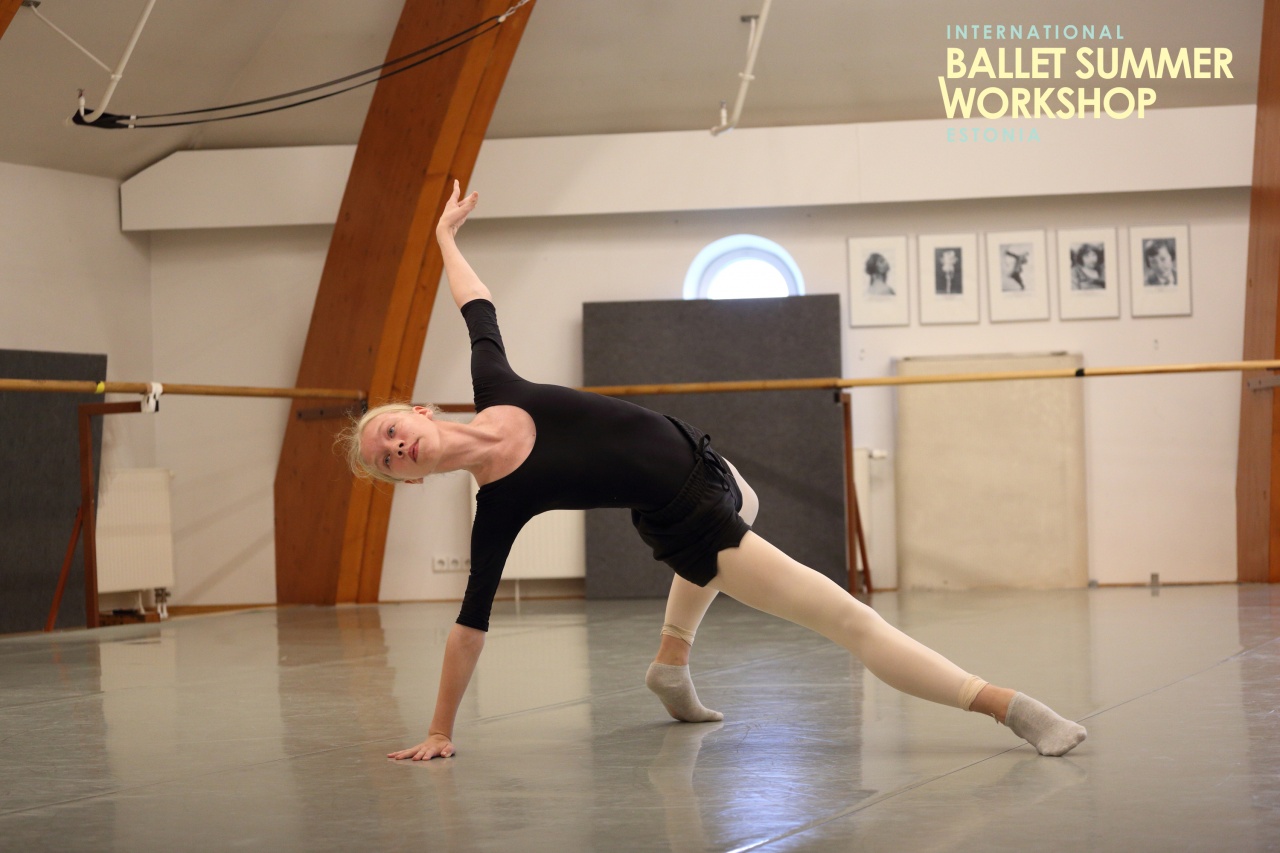
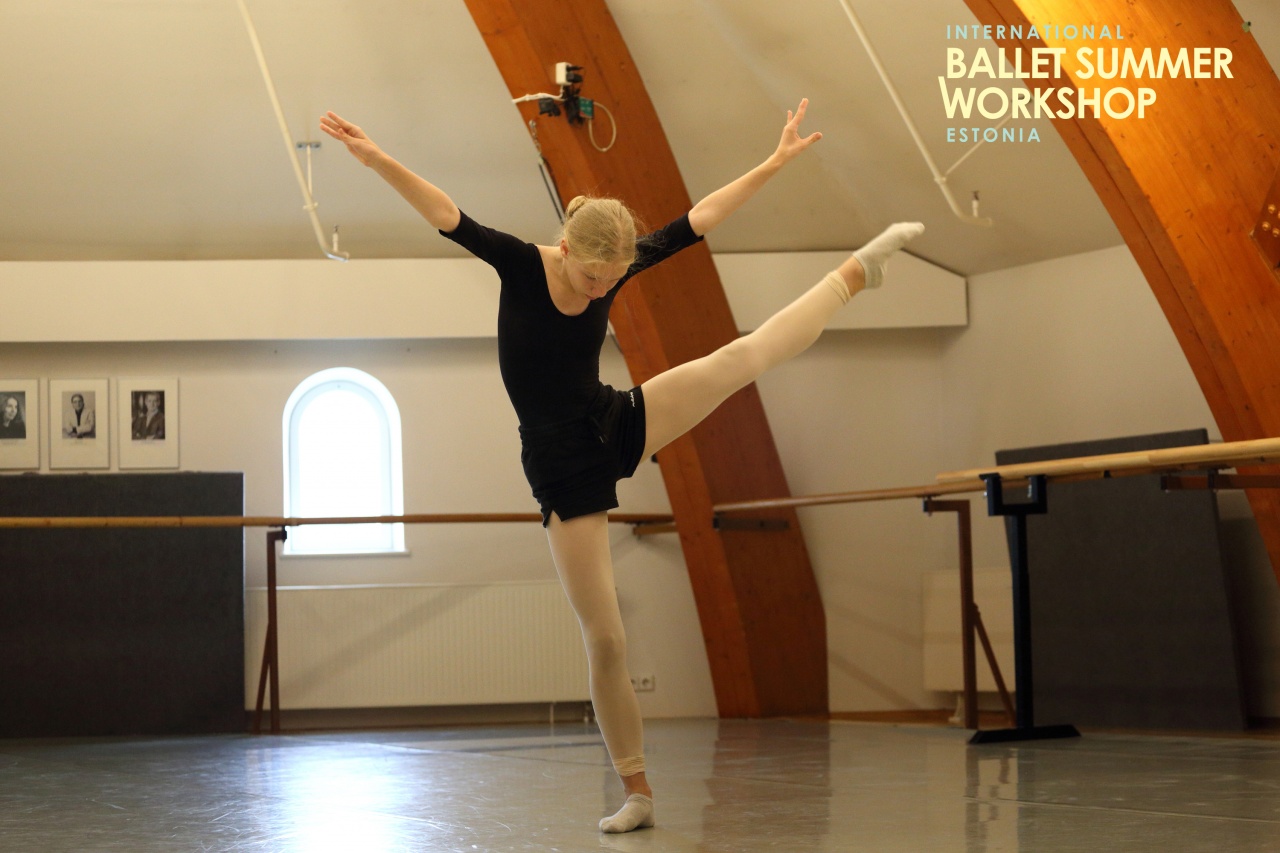
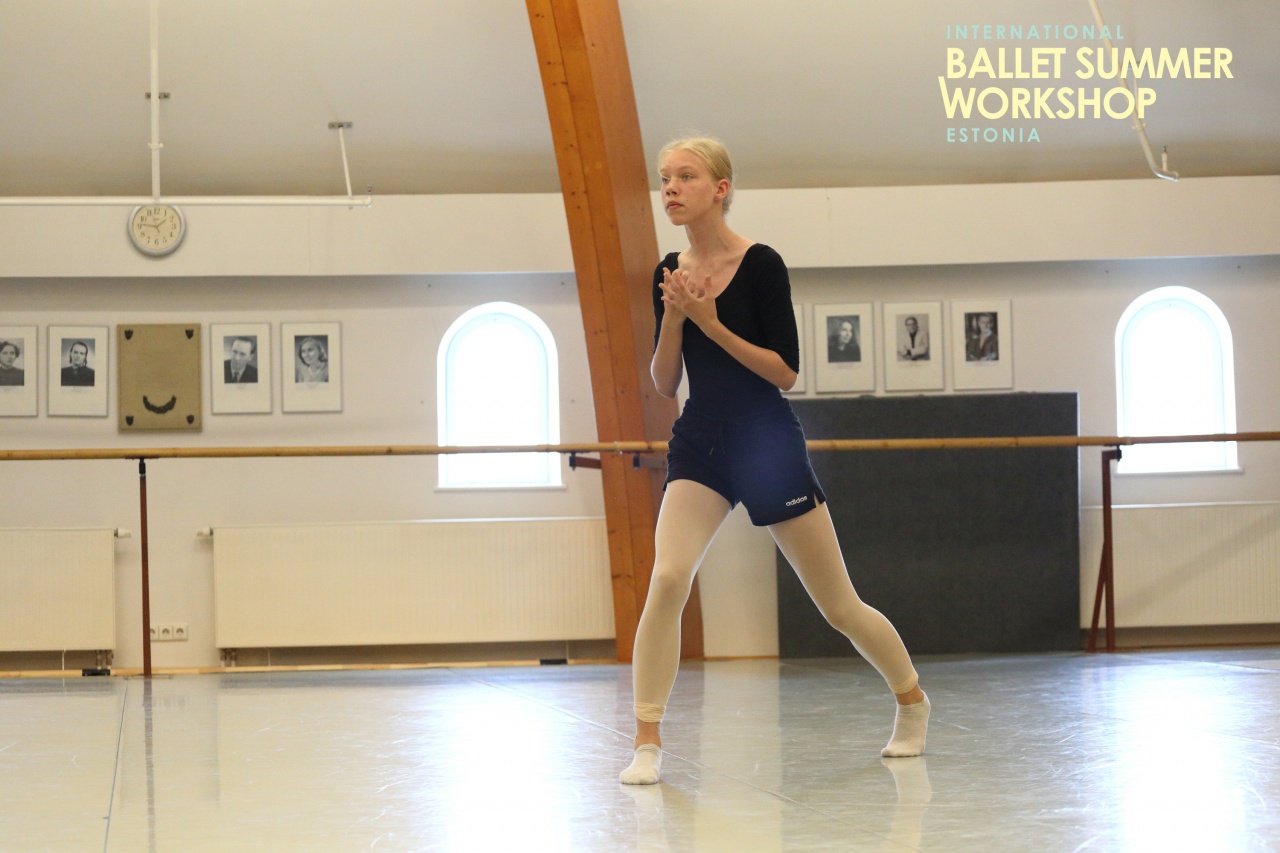
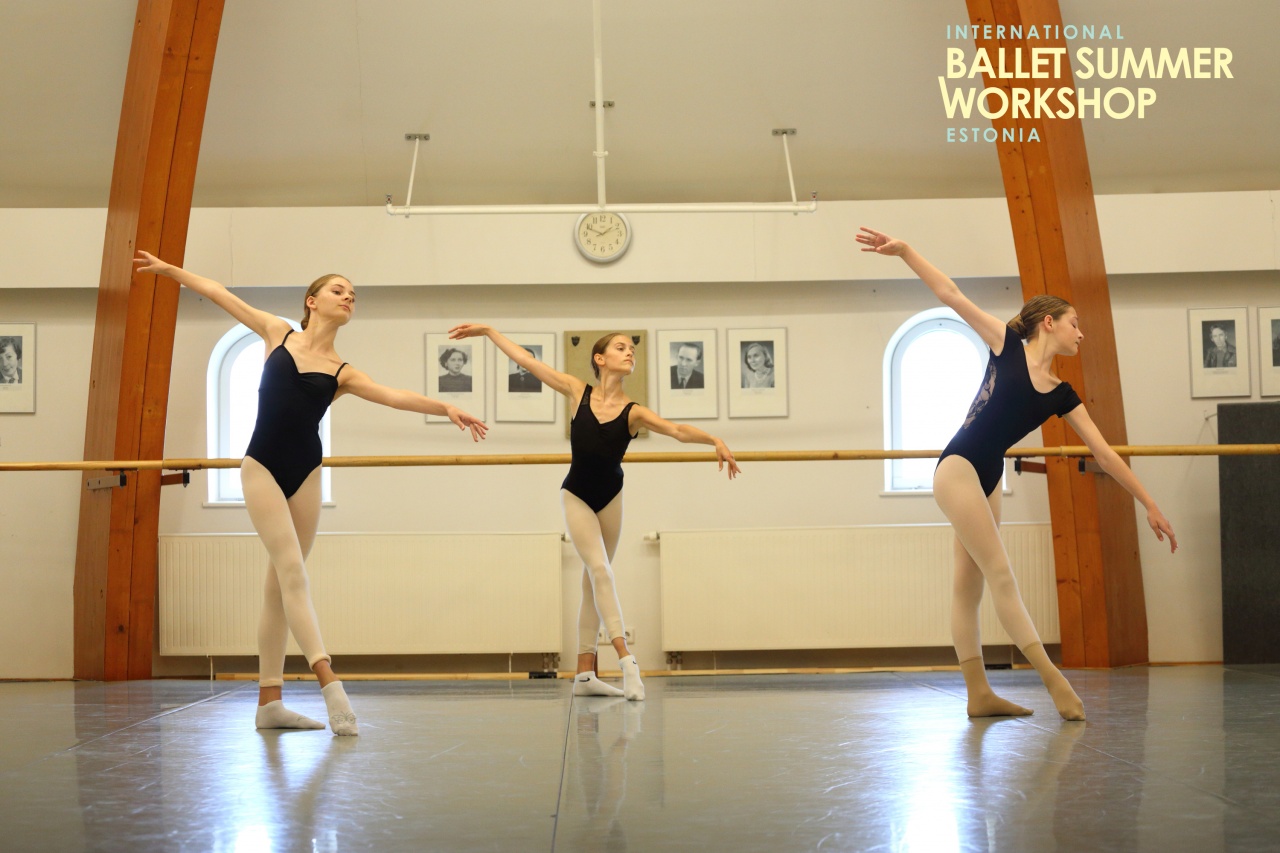
Gallery 2023
Course organizers
Our team
Our teachers 2017
Our teachers 2018
Our teachers 2019
Our teachers 2020
Our teachers 2021
Our teachers 2023
Partners
Contacts
Contacts
FAQ
payment 2024- 12+/full
Deposit
Facebook
Instagram
Youtube
Twitter
Performance second part
View all galleries